
Installation & Configuration For PHP Web Application
Chapter 1 – Download
1.1 Software to be downloaded
Download All Links
- XAMPP – 8.1
- Download Xampp Link
- Notepad https://notepad-plus-plus.org/downloads/v7.8.2/
1.2 How to do PHP Configuration – Step by Step Tutorials
Chatper 2 – Installation
2.1 Installation of Xampp
- Click Yes when prompted. This will open the XAMPP setup window.
- Click Next. It’s at the bottom of the setup window.
- Select aspects of XAMPP to install. Review the list of XAMPP attributes on the left side of the window; if you see an attribute that you don’t want to install as part of XAMPP, uncheck its box.
- Click Next. It’s at the bottom of the window.
- Select an installation location. Click the folder-shaped icon to the right of the current installation destination, then click a folder on your computer.
- If you have the UAC activated on your computer, avoid installing XAMPP in your hard drive’s folder (e.g., OS (C:)).
- You can select a folder (e.g., Desktop) and then click Make New Folder to create a new folder and select it as the installation destination.
- Click Next. You’ll find it at the bottom of the page.
- Begin installing XAMPP.
- Click Finish when prompted.
- Resolve issues with Apache refusing to run. On some Windows 10 computers, Apache won’t run due to a “blocked port”. This can happen for a couple of reasons, but there’s a relatively easy fix:
- Click Config to the right of the “Apache” heading.
- Click Apache (httpd.conf) in the menu.
- Scroll down to the “Listen 80” section (you can press Ctrl+F and type in listen 80 to find it faster).
- Replace 80 with any open port (e.g., 81 or 8080).
- Press Ctrl+S to save the changes, then exit the text editor.
- Restart XAMPP by clicking Quit and then re-opening it in administrator mode from its folder.
2.1 OPEN THE “XAMPP control panel”

2.2 Start the “Apache and MySql”

2.3 Click “Admin” button from MySql

2.4 Now open the “phpmyAdmin” window in brower
2.2 Backend configuration
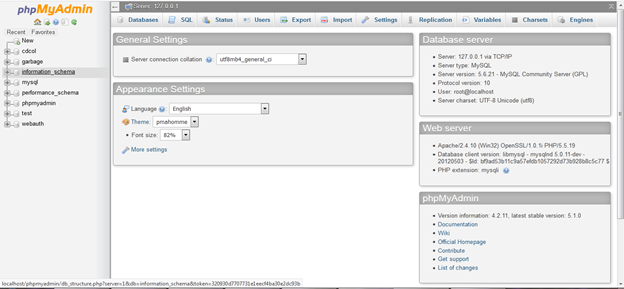
2.2.1 Open “phpmyAdmin” in brower

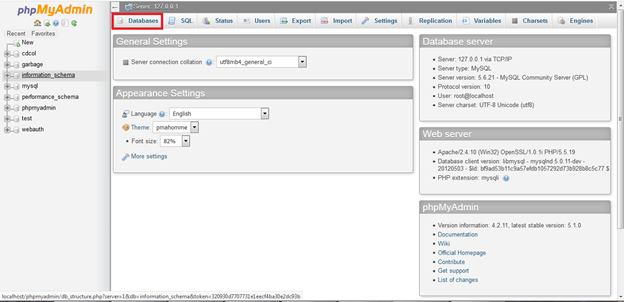
2.2.2 Click “Database”
2.2.3 Enter Database “Name” and Enter collection “Utf8_bin” and click “ create”

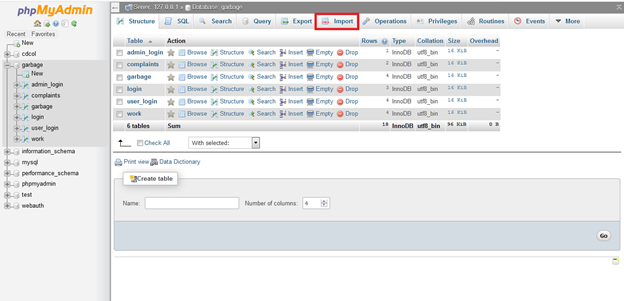
2.2.4 Click created Database from the left side

2.2.5 Click “import” from the top bar
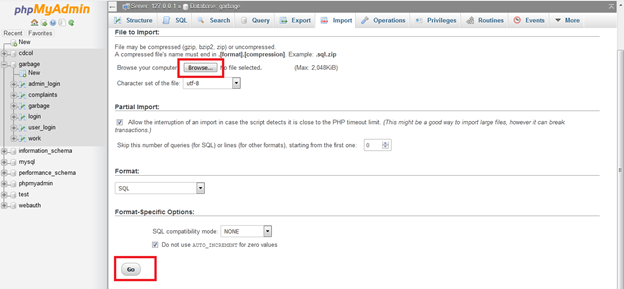
2.2.6 Click “ browse” select the sql file and click “ go”
- Place the coding in below path
c:\xampp\htdocs\projects\garbage\web
- Place the coding in below path
2.2.7 Open the “readme” file in the project folder

2.2.8 Open the “readme” file and copy the “project url”
- For Project run the path in browser
localhost/projects/ garbage /web/
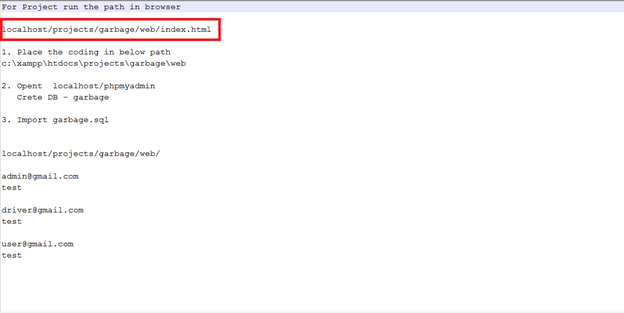
2.2.9 Paste the url in web browser and click “enter”

Chatper 3 – How to open the coding
3.1 Source code configuration
3.1.1 OPEN THE “Notepad ++”

3.1.2 Click File -> open -> web(folder)-> index.html
